Between Rand Water’s infrastructure failures, the January 2026 pipe burst and publicised 54-hour planned outages rolling through Johannesburg — with Tshwane not far behind — one tank no longer feels like enough. Across Gauteng, households are adding a second JoJo, then discovering that nobody has written down how to join the two properly. This is that guide: the parts, the steps and the mistakes, all at spanner-level DIY.
Why connect two JoJo tanks instead of buying one big one?
Three reasons. First, budget: adding a second tank later is usually far cheaper than replacing the one you own with a single giant. Second, space: two smaller tanks fit down side passages and around corners where one huge tank simply won’t go. Third — and this is the part most people miss — a properly linked pair behaves like one big tank with a single collection point. Your pump or tap draws from the combined volume, and one level gauge tells you how much water you actually have.
Should you link the tanks at the bottom or the top?
There are two ways to join tanks, and they behave very differently. A bottom link joins the two outlets at the base with a 40mm pipe, so the tanks become communicating vessels — the water levels equalise and both tanks fill and empty together. A top link simply runs the first tank’s overflow into the second tank’s inlet: tank two only starts filling once tank one is full.
| Bottom link | Top link (overflow link) | |
|---|---|---|
| How it works | Outlets joined at the base with 40mm pipe | Tank 1’s overflow feeds tank 2’s inlet |
| Water levels | Equalise — the pair acts as one big tank | Independent — tank 2 fills only when tank 1 overflows |
| Usable volume | Full use of both tanks from one draw point | Tank 2 needs its own outlet or pump to be used |
| Install effort | More fittings; bases must be dead level | Simpler — one pipe run up top |
| Best for | Daily use, pump systems, outage backup | Rain-harvesting overspill, an occasional reserve |
For a household that actually uses its stored water — backup during outages, garden, pool top-ups — the bottom link wins. The rest of this guide covers that install.
What parts do you need for a 40mm bottom link?
SA tank fittings use BSP threads, and the standard JoJo bottom outlet is 40mm, so a 40mm-to-40mm link is the default job. You’ll need:
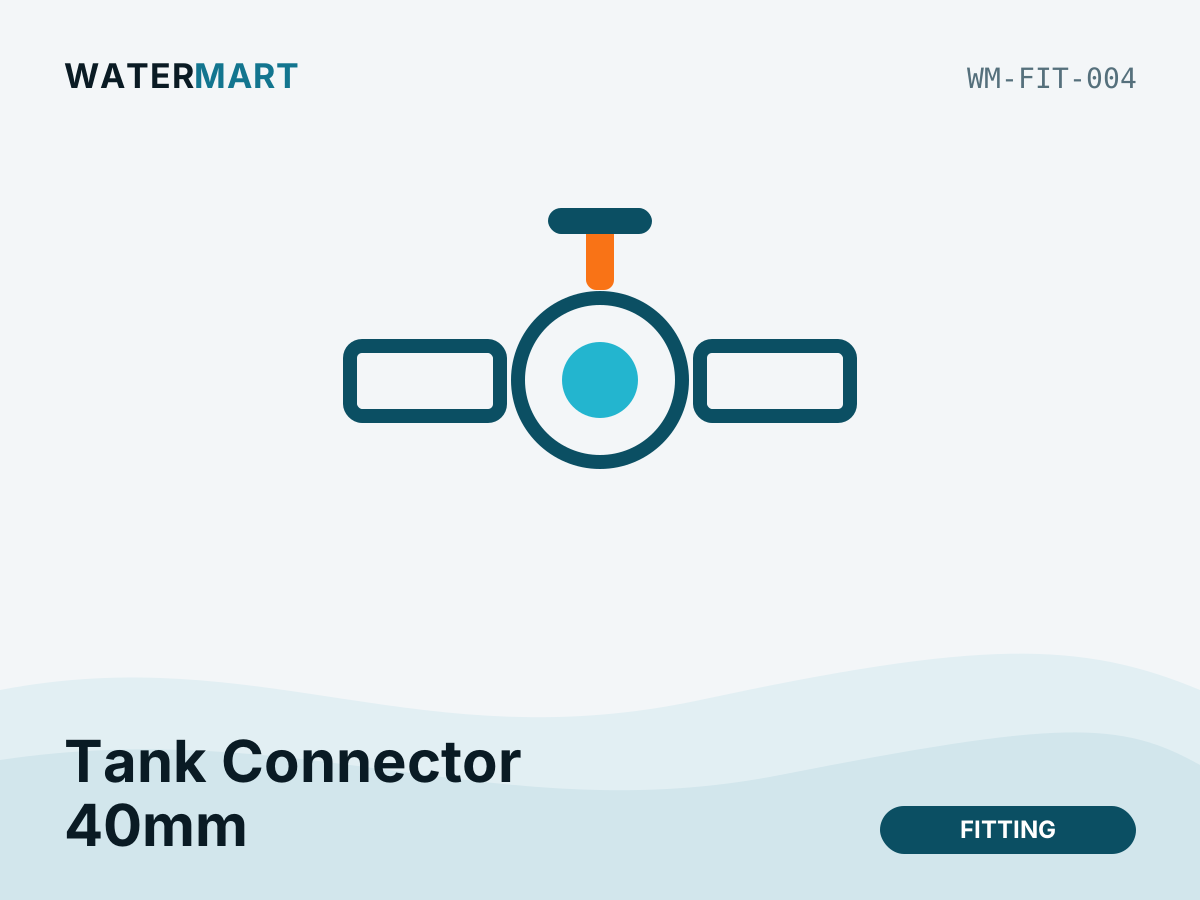
- 2 × 40mm BSP tank connectors (bulkhead fittings) — one per tank, if your outlets aren’t already fitted.
- 2 × 40mm brass ball valves — one per tank. Non-negotiable; more on this below.
- A length of 40mm pipe or flexible coupling to span the gap between the outlets.
- PTFE thread tape for every male thread.
- Spare bulkhead washers — cheap insurance against the weep you only discover at 9pm.
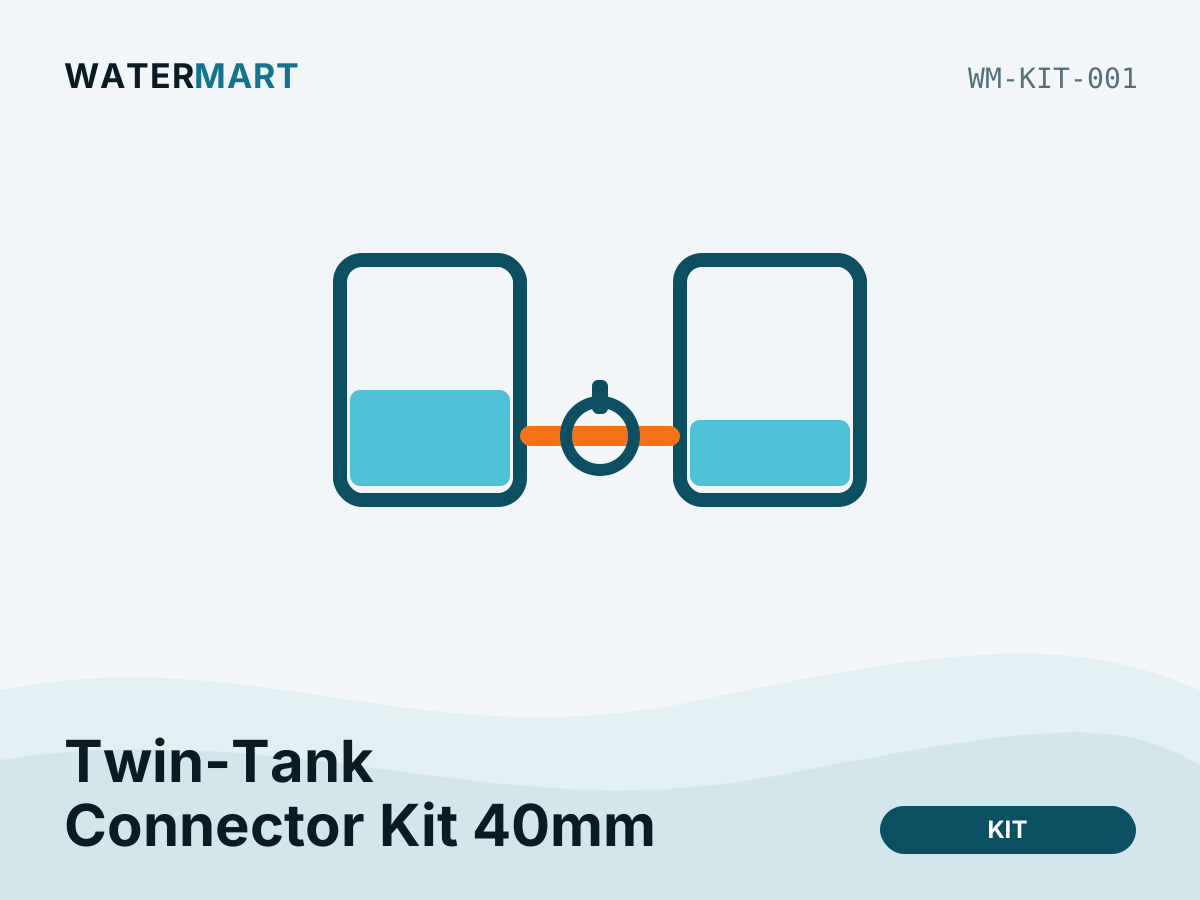
Not sure whether your outlet is 40mm, 50mm or something older? Measure it before you buy anything. If you’d rather get the whole link in one box, our Twin-Tank Connector Kit covers the 40mm link for R449 — just add the two ball valves.
Parts for a 40mm bottom link
How do you connect two JoJo tanks step by step?
- Sort the bases first. Both tanks need firm, dead-level plinths at exactly the same height — compacted base with a concrete or paved top. Water weighs a tonne per 1 000 litres; soft ground will settle and shear your link.
- Position the tanks with the bottom outlets facing each other and the shortest practical pipe run between them.
- Drain both tanks and clean the outlet threads. Grit on a thread is a leak waiting to happen.
- Fit or check the 40mm tank connectors. Seat the rubber washers flat, tighten by hand plus a quarter turn with a spanner. Plastic threads crack if you gorilla them.
- Tape and fit a ball valve to each outlet. Wrap 6–8 turns of PTFE tape clockwise (looking at the end of the thread), then screw a 40mm brass ball valve onto each tank’s outlet.
- Join the two valves with your 40mm linking pipe. Measure, dry-fit, then tape and tighten the final joints.
- Leak-test before you commit. Close both valves, quarter-fill tank one, then open its valve slowly and inspect every joint. A slow weep now is a five-minute fix; a weep under a full tank means draining thousands of litres.
- Open the second valve and let the levels equalise, then connect your draw-off — tee into the linking pipe, or run from one tank’s spare outlet to your gravity line or pump. Typical tank booster pumps run 0.37–0.75kW and usually take a 40→25mm reduction on the inlet.
- Label both valves and test isolation: close each one in turn and confirm the other tank still feeds your outlet. Done.
Why do isolation valves matter so much?
Because a bottom link is also a bottom drain. Without a valve on each tank, you cannot clean, repair or replace one tank without emptying both — and if a fitting fails on either tank, the pair drains to the ground together. Two brass ball valves at R289 each is under R600 of insurance protecting every litre you’ve stored. Close one valve and that tank is offline for cleaning while the other keeps your house running. It’s the difference between a linked system and a liability.
What happens to the water levels once the tanks are linked?
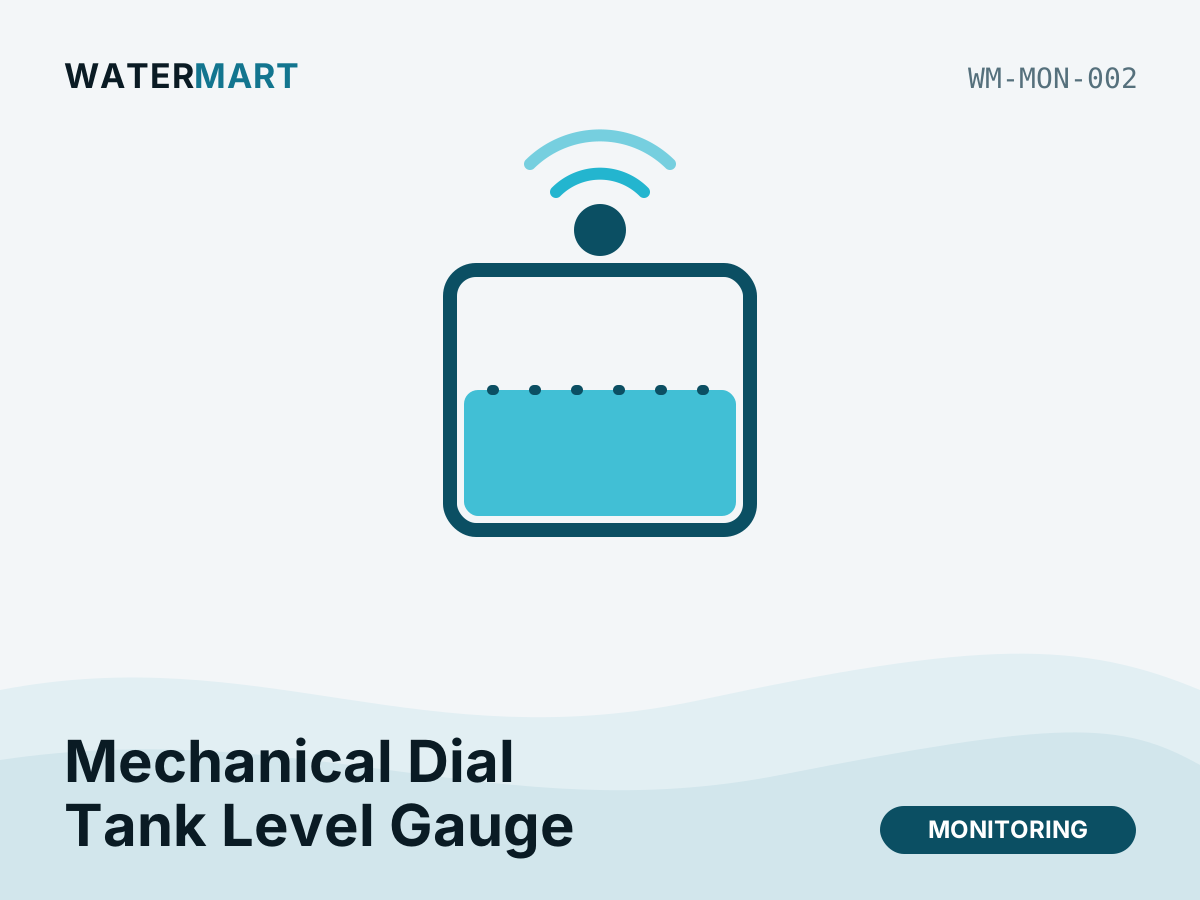
Linked at the bottom, the tanks obey simple physics: water seeks its own level. Fill either tank — from a downpipe, a municipal top-up or a tanker — and the water flows through the link until both levels match. Draw from your tap or pump and both tanks drop together. Practically, that means one gauge on either tank reads your whole system — anything from a R399 mechanical dial gauge to a WiFi sensor that alerts your phone will do the job. One quirk worth knowing: during a hard downpour into one tank, the level in the receiving tank can run slightly ahead of its twin while water works through the 40mm link. It settles within minutes.
Keep an eye on the combined level
What are the most common mistakes when linking tanks?
- No isolation valves. The classic. Saves R578 on day one, costs you both tanks’ water the day one fitting fails or a tank needs cleaning.
- Unlevel or unequal bases. If one plinth sits higher, that tank can never fill completely — the pair overflows at the lower tank’s level, and the height difference puts constant strain on the link pipe.
- Mismatched tank heights. Linking a tall slimline to a short squat tank means the combined level caps at the shorter tank’s overflow. The taller tank’s top section becomes storage you paid for but can never use. Link same-height tanks, or accept the loss knowingly.
- Thread tape sins. Wrapping anti-clockwise so the tape unravels as you tighten; three lazy wraps that weep; twenty wraps that crack a plastic female thread; and taping over the end of the thread so shreds wash into your float valve. Six to eight neat clockwise wraps, starting one thread back.
Honest note: if your second tank is purely a rarely-touched emergency reserve, a simple top link — overflow pipe from tank one into tank two — is cheaper and easier, and you don’t need our connector kit at all. The bottom link earns its keep when you want both tanks working as one every day.
FAQ
Can I link two different-sized JoJo tanks?
Yes, as long as they’re a similar height. With a bottom link the water level equalises across both, so capacity can differ (say 2 500 litres + 5 000 litres) — but if one tank is shorter, its overflow height limits the whole system.
What size is the standard JoJo bottom outlet?
40mm BSP on most standard JoJo tanks. Common SA tank fitting sizes run 20/25/32/40/50mm, all BSP thread — measure yours before ordering.
Do I need a plumber to connect two tanks?
Not for the link itself — it’s spanner-level DIY with hand-tight fittings and thread tape. Call in a professional for the electrical side of a pump install, or if you’re tying the tanks into your house’s municipal supply.
Can I connect three or more tanks the same way?
Yes. Extend the same 40mm bottom manifold from tank to tank, with an isolation valve at every tank’s outlet so any one can come offline without draining the rest.
Two tanks, one system, twice the buffer for the next 54-hour outage. WaterMart launches in August 2026 — join the waitlist on the products above and you’ll be first in line, with courier delivery nationwide at R85 flat (free over R950). All prices include VAT.